3D Raised UV DTF Prints from Flat Artwork
Upload a flat PNG, pick which parts rise and how they feel, and get the white and varnish spot channels your UV printer needs. Textures are sized in real inches, and every file is checked for details too thin to stand up.
Drop your design here
A PNG with a transparent background works best. JPG and WebP work too.
Previewing is free and runs in your browser. Your file is not uploaded.
What it builds
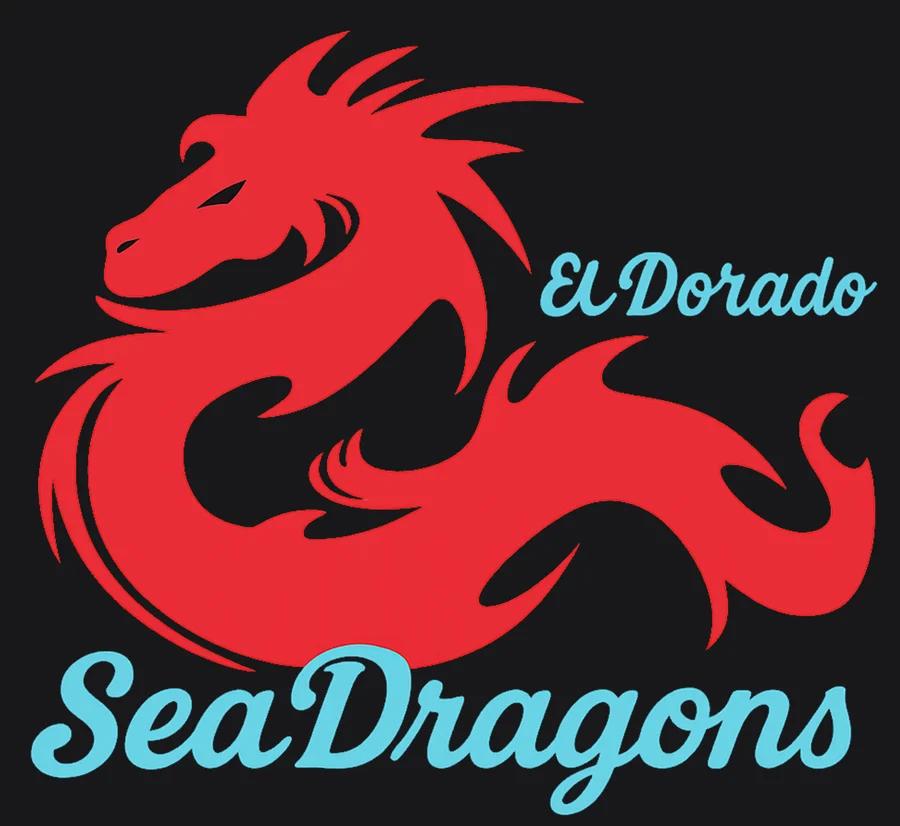
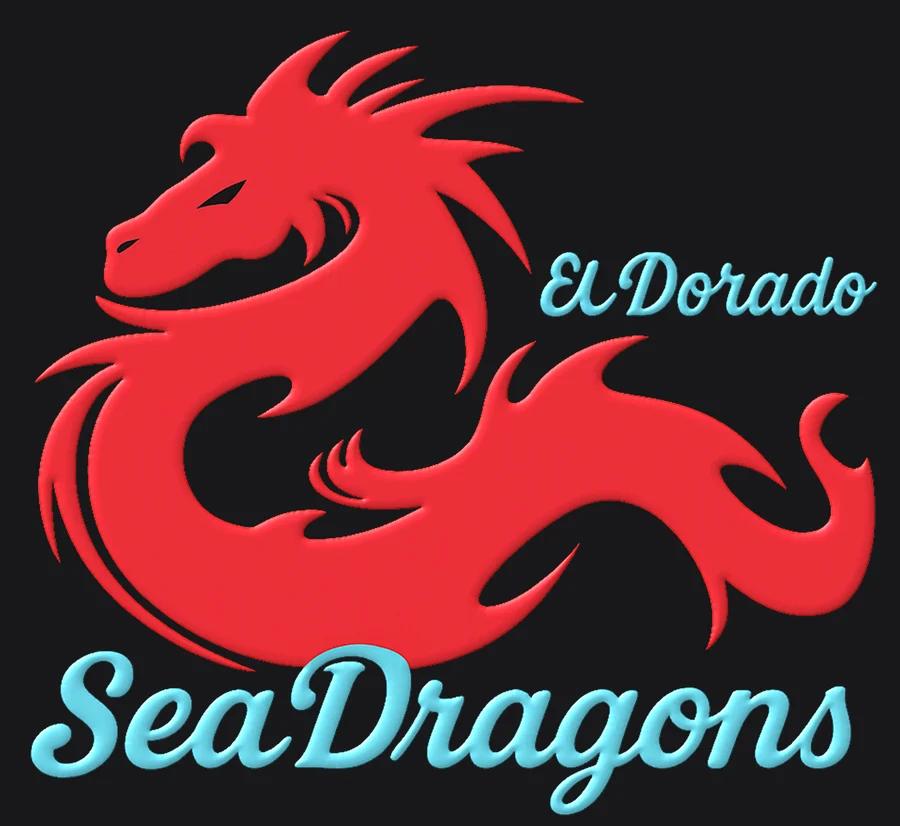
Real output from the DTFWiz engine at a 6 inch print size. The right side is a lit render of the actual height channel the file carries.
What your printer actually builds
A raised print is a stack. The printer lays the color, a white layer behind it so it stays bright on clear film, then clear varnish in several passes to build height. Each of those needs its own layer in the file, called a spot channel. Most artwork arrives as one flat image, so somebody has to build those layers by hand. This tool builds them for you.
Color
Your artwork, printed in CMYK the normal way.

White base
Solid white under the color so it stays bright on clear film. Pulled in a hair from every edge so it never peeks out.

Varnish (height)
Brighter means taller. Here, Puffy: rounded edges rising to a full-height top.
Textures you can feel
Pick how the raised area feels, then which parts of the design get it: the whole design, everything in one color, or a part you click. Close-ups below are at full print resolution, because fine ribs disappear when an image is shrunk down.
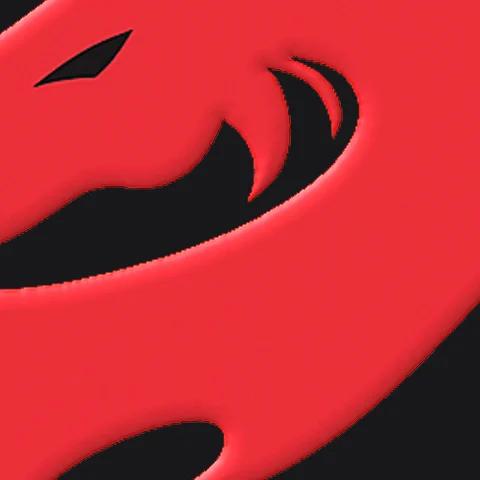
Puffy
Soft rounded edges that rise to a full-height top, like puff print.
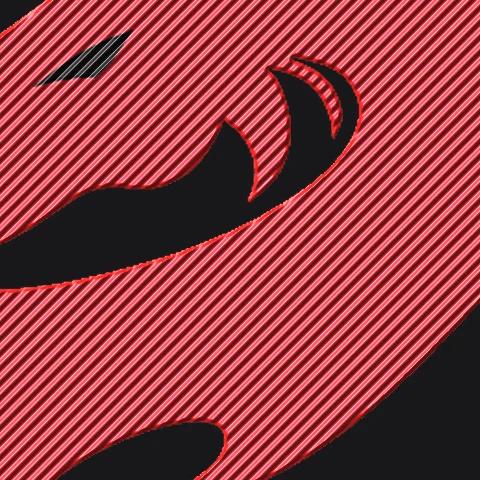
Twill
Diagonal woven ribs, the classic patch-fabric feel.
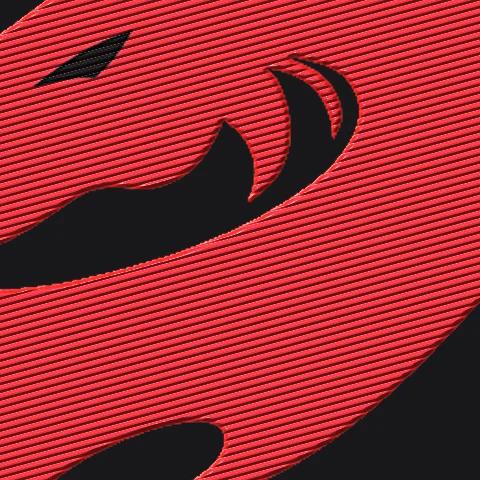
Satin stitch
Tight flat-topped threads, like an embroidered fill.
Also working: Emboss (height from the artwork's own light and dark tones), Crosshatch and Dots. More stitch and pattern styles are planned, including fills that follow the direction of each shape the way real embroidery does.
Built by people who print
DTFWiz already checks DTF files for the problems that ruin transfers. The raised print tool brings the same habit to UV: tell you what will go wrong before you burn film and varnish finding out.
Sized in inches
Set the print size once. Every texture, edge and check is measured on the real print, so a rib is the same size on any upload.
Checked before you print
Raised parts too thin to hold height are flagged on the design, with what will happen and how to fix it.
White that stays hidden
The white layer is pulled in slightly from every color edge, including edges where the design meets the border of the image.
No fake shading
The color you print stays your color. The light and shadow you see on the finished piece come from real varnish height, so nothing is painted into the file.
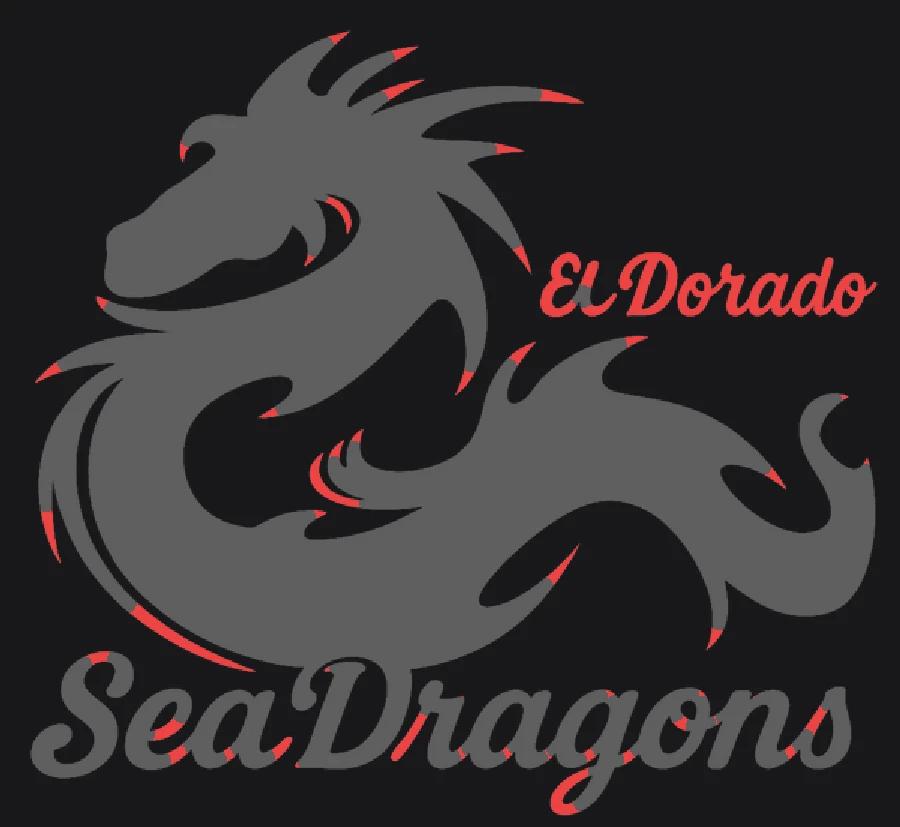
The same design, too small to stand up
Varnish is built from tiny drops stacked on top of each other, and a thin line can only hold a few before it spreads. Shrink a design and its script lettering and pointed tips get thinner than the printer can build. They print flat, or slump into a low smear next to the parts that rose properly.
The check runs on your real file at your real size. On this dragon at 6 inches, only 0.1% of the raised area is flagged. Printed at 2 inches, 6.5% is, mostly the “El Dorado” script and the fin tips, shown in red.
The fix is usually a bigger print, a bolder font for raised text, or leaving those parts flat while the rest rises. The same idea powers our free White Ink Checker for DTF.
How it works
- 1. Start from clean artwork. A transparent PNG at good resolution gives the crispest raised edges. Make Print Ready removes backgrounds and fixes soft edges, and the AI upscaler rescues small files.
- 2. Set the print size. Textures, edge rounding and every check are measured at this size.
- 3. Choose what rises. Up to four channels. Name each one to match your RIP (White, Varnish, V1...), pick the texture, and choose its area: the whole design, one color, or a part you click.
- 4. Fix what the check flags. Thin details, too-fine textures and white that could show are marked on the design with a plain explanation.
- 5. Download and print. One spot-channel TIFF for the RIP, or each channel as its own PNG.
Help us test it on your press
Every RIP handles spot channels a little differently, and the minimum sizes that hold height depend on the printer and the varnish. We are confirming each setup with real test prints before launch. Tell us your printer and RIP with the Support button at the bottom of this page, and we will reach out when there is a file to try.
Raised UV print FAQ
What is a raised or 3D UV DTF print?
A UV or UV DTF printer can lay clear varnish (or a high-build white) in several passes on top of the color. Each pass adds a little height, so the print ends up with real texture you can feel: a puffy logo, ribbed twill, glossy lettering. The printer needs to be told where to build that height and how much, which is what spot channels are for.
What is a spot channel?
An extra grayscale layer saved inside the print file, next to the normal color image. Each one has a name, like White or Varnish, and your RIP software matches that name to an ink. Black areas in the layer get no ink, solid areas get full ink, and in-between values get partial ink. For varnish that partial ink is partial height, which is how textures are built.
Why does the print size matter for a texture?
A twill rib or a satin thread has a real physical size on the print. This tool builds every texture in inches at the size you will print, so the ribs come out the same on a 3 inch patch as on a 10 inch back panel, no matter how many pixels your upload has. Textures sized in image pixels change with the upload instead: the same setting gives twice-as-fine ribs on a file twice as large.
What does the safety check look for?
Parts of the raised area too thin to hold their height (thin script letters and fin tips are the usual suspects), textures finer than a printer can shape, white ink that could peek out past the color edge, and varnish that runs outside the design. Each warning says what it is, what happens on the print if you ignore it, and why raised printing in particular cares.
What file do I get?
One TIFF with your color artwork plus the spot channels, with the channel names saved inside the file the way Photoshop saves them, so the RIP can map each layer without manual setup. You can also download each channel on its own as a black-and-white PNG for custom workflows.
Which printers and RIPs will it work with?
The file follows the Photoshop spot-channel TIFF format that UV RIPs read. The channel names come from a printer preset: the DTF Station Lumen S24F preset uses W1 and W2 for white and V1 and V2 for varnish, which is what its NeoStampa print scheme looks for, and the generic preset lets you type the names your own RIP expects. We list a printer as confirmed only after a real test print. If you run a UV or UV DTF printer, tell us which one and which RIP through the Support button so we can include it.
Can it make TPU patches?
That is one of the main uses we are building for: printed patches where the design is raised off the base. The same file drives it. Flexibility and cure settings belong to your printer setup, and the safety checks help make sure the raised parts are thick enough to survive.
When can I use it?
Now, as a beta: drop a design at the top of this page. Previewing is free and runs in your browser. Downloading the spot-channel file needs a free account and counts as one image on your plan. The minimum sizes the safety check uses are starting estimates until our test prints are done, so treat its warnings as guidance. Clean, high-resolution art is still the starting point: Make Print Ready and the AI upscaler get a file there.